Title: How to Make the Perfect Taylor Swift Friendship Bracelets: A Swiftie’s Guide to Crafting and Sharing Your Love
If you’ve been keeping up with Taylor Swift’s latest era, you’ll know that there’s a special connection between her and her fans. Whether you’re an OG Swiftie or a newer recruit, one thing is for sure: Taylor’s music and style have a magical way of uniting people. And this year, there’s a new trend that’s taking the fandom by storm—Taylor Swift friendship bracelets. Yes, those cute, colorful bracelets that are as much about sentiment as they are about style.
Now, whether you’re looking to make one for yourself or share your love for Taylor with your besties, these friendship bracelets are not just a fun project; they’re a way to show off your Swiftie pride and even make lasting memories. So, let’s dive into how you can make the perfect Taylor Swift-inspired friendship bracelet and why these little pieces of jewelry are creating such a buzz!
Why Taylor Swift Friendship Bracelets are a Must-Have
Before we get into the DIY side of things, let’s take a moment to talk about why these bracelets have become such a huge thing among Taylor Swift fans. It all started with the “Eras Tour,” where fans were encouraged to bring these colorful little tokens to the concert as a way to show solidarity with other Swifties. Each bracelet tells a story: whether it’s a lyric from a song, a color that represents a specific era of Taylor’s music, or just a fun memento of a life-changing concert experience. It’s no wonder that these bracelets are now all the rage!
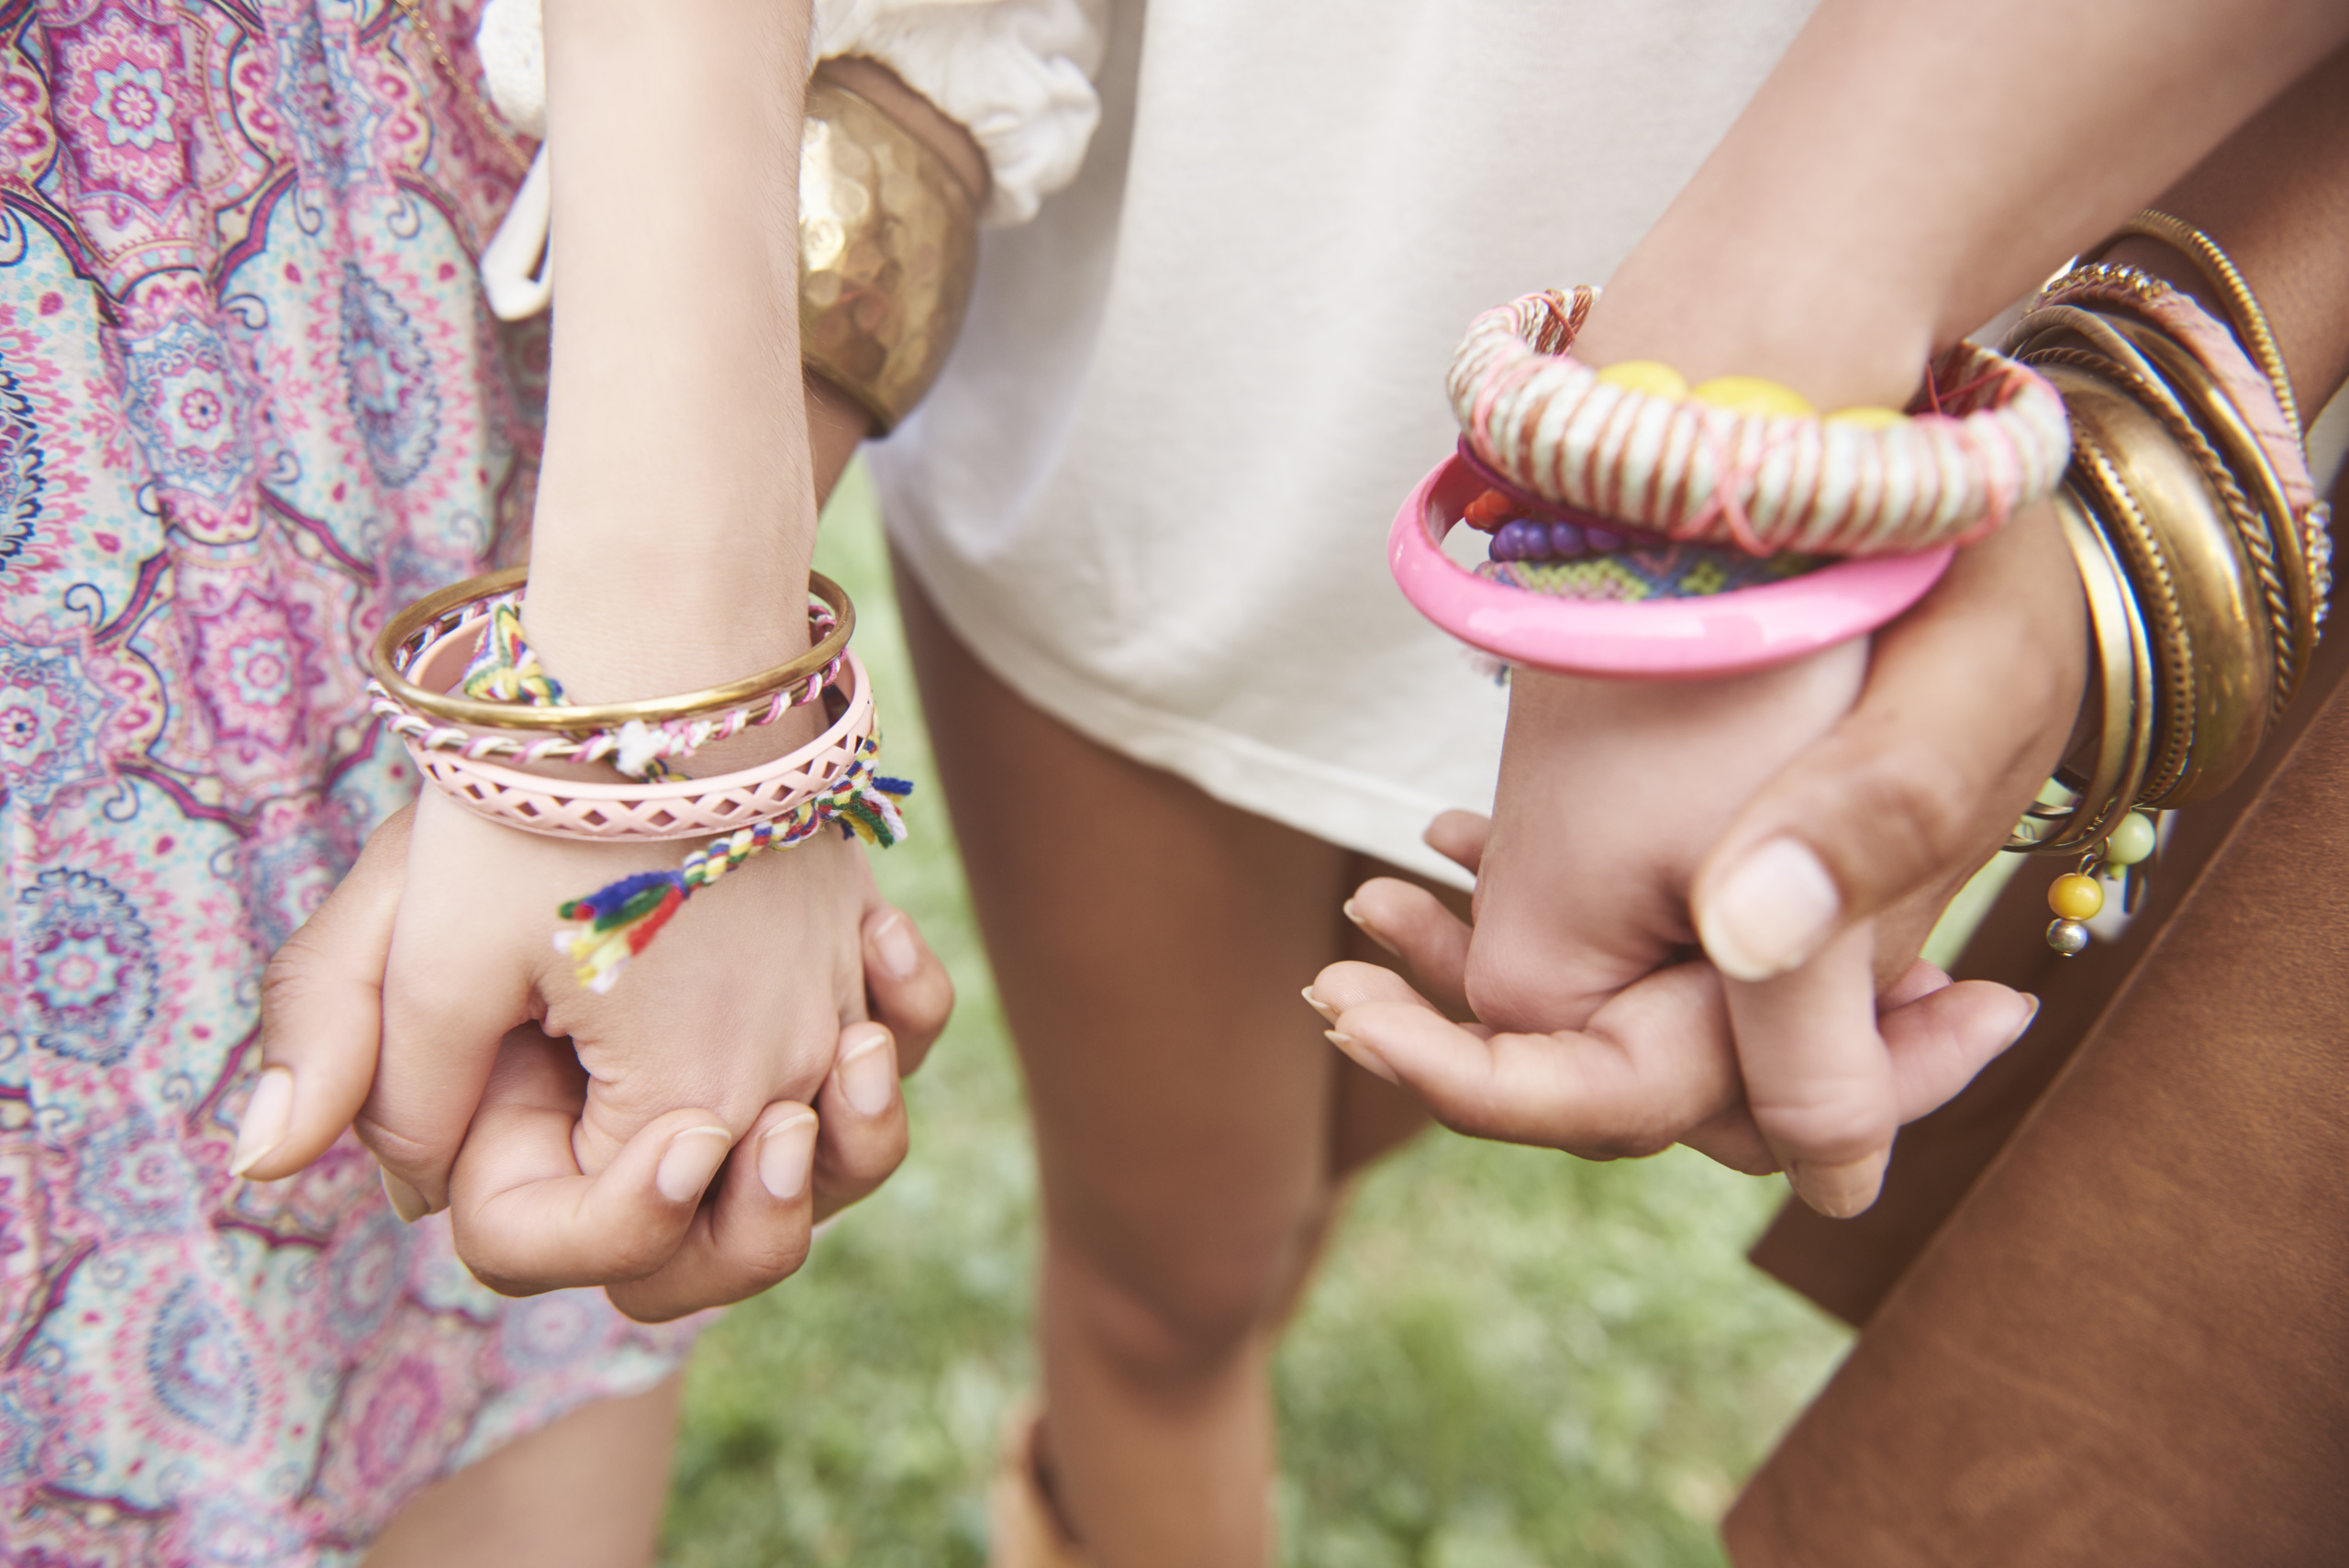
From the “Fearless” yellow beads to the “Red” ruby accents, each friendship bracelet can reflect a different Taylor Swift era. It’s like wearing your heart on your wrist. The best part? Making these bracelets can be an incredibly personal experience—you get to choose the colors, the beads, and the messages that feel most meaningful to you.
What You’ll Need to Make Your Own Taylor Swift Friendship Bracelets
Making a Taylor Swift friendship bracelet is surprisingly simple, but that doesn’t mean the results aren’t stunning. Here’s what you’ll need to get started:
- Colorful Thread or Beads: You’ll want to pick colors that represent your favorite Taylor Swift albums, like the soft pastels for “Lover” or bold reds for “Red.” You can also opt for metallic or sparkle beads to add some extra flair.
- Letter Beads (Optional): One of the most popular trends right now is using letter beads to spell out quotes from Taylor’s songs. Think “All Too Well,” “You Belong With Me,” or even “Swiftie” for some serious fan pride!
- String or Elastic Cord: If you’re going for a more traditional friendship bracelet, thread works perfectly. If you want something a little stretchier and more wearable, elastic cord is a great option.
- Beading Needle or Hook (Optional): If you’re working with small beads, this can help you string them more easily.
- Scissors & Clasp (Optional): For those wanting a more professional finish, adding a clasp can make your bracelet look super polished.
Step-by-Step Guide to Crafting Your Taylor Swift Friendship Bracelet
Now that you have everything you need, it’s time to get your crafting on! Here’s how you can make a cute and meaningful bracelet:
- Pick Your Colors & Lyrics: The first step is to decide which Taylor Swift era you want to represent with your bracelet. Do you want to go for a colorful mix for “Rainbow” or keep it simple and elegant for “Folklore”? If you want to incorporate lyrics, decide on which ones will fit your bracelet.
- Cut Your Thread or String: Measure out a length of thread (about 10-12 inches should do for a standard bracelet). You can always cut more later if needed.
- Start Stringing: If you’re using letter beads to spell out a favorite lyric or phrase, this is where you get creative! If you’re working with thread, try braiding it or creating simple knots to give it texture.
- Tie It Off & Add Finishing Touches: Once your design is complete, tie off the ends with a knot, or add a clasp if you prefer. You can also attach charms or little trinkets that hold sentimental value.
- Gift It or Rock It Yourself: Finally, decide if you want to keep the bracelet for yourself or gift it to a fellow Swiftie. Either way, you’ll have a fun and memorable accessory that represents your love for Taylor Swift.
Ideas for Personalizing Your Bracelet
Looking to add that special touch to your Taylor Swift friendship bracelet? Here are a few ideas to make it uniquely yours:
- Include Your Favorite Song Lyrics: From “Call It What You Want” to “Shake It Off,” adding your favorite Taylor Swift lyrics will make your bracelet even more personal.
- Add a Heart or Star Charm: For a little extra sparkle, attach a charm that represents something meaningful to you—whether it’s a star (like Taylor’s “Starry Night”) or a heart for all the love you have for her music.
- Create a Custom Color Scheme: Use beads in your favorite colors to reflect your personality, or go with one specific color that ties into an album’s theme.
The Bottom Line: Why Taylor Swift Friendship Bracelets Are the Ultimate Fan Accessory
In a world where fan culture has become such a huge part of our lives, Taylor Swift friendship bracelets offer a fun and creative way to connect with other Swifties. Whether you’re wearing one as a personal reminder of a concert experience, or you’re gifting them to friends, they’re more than just a trend—they’re a symbol of the incredible bond that fans have with Taylor and each other. Plus, they’re easy to make, incredibly affordable, and guaranteed to be the perfect conversation starter at your next Swiftie meet-up.
So, grab your beads, put on your favorite Taylor Swift album, and let the bracelet-making begin! You never know what song lyric will end up being the one you wear forever.